Part actions
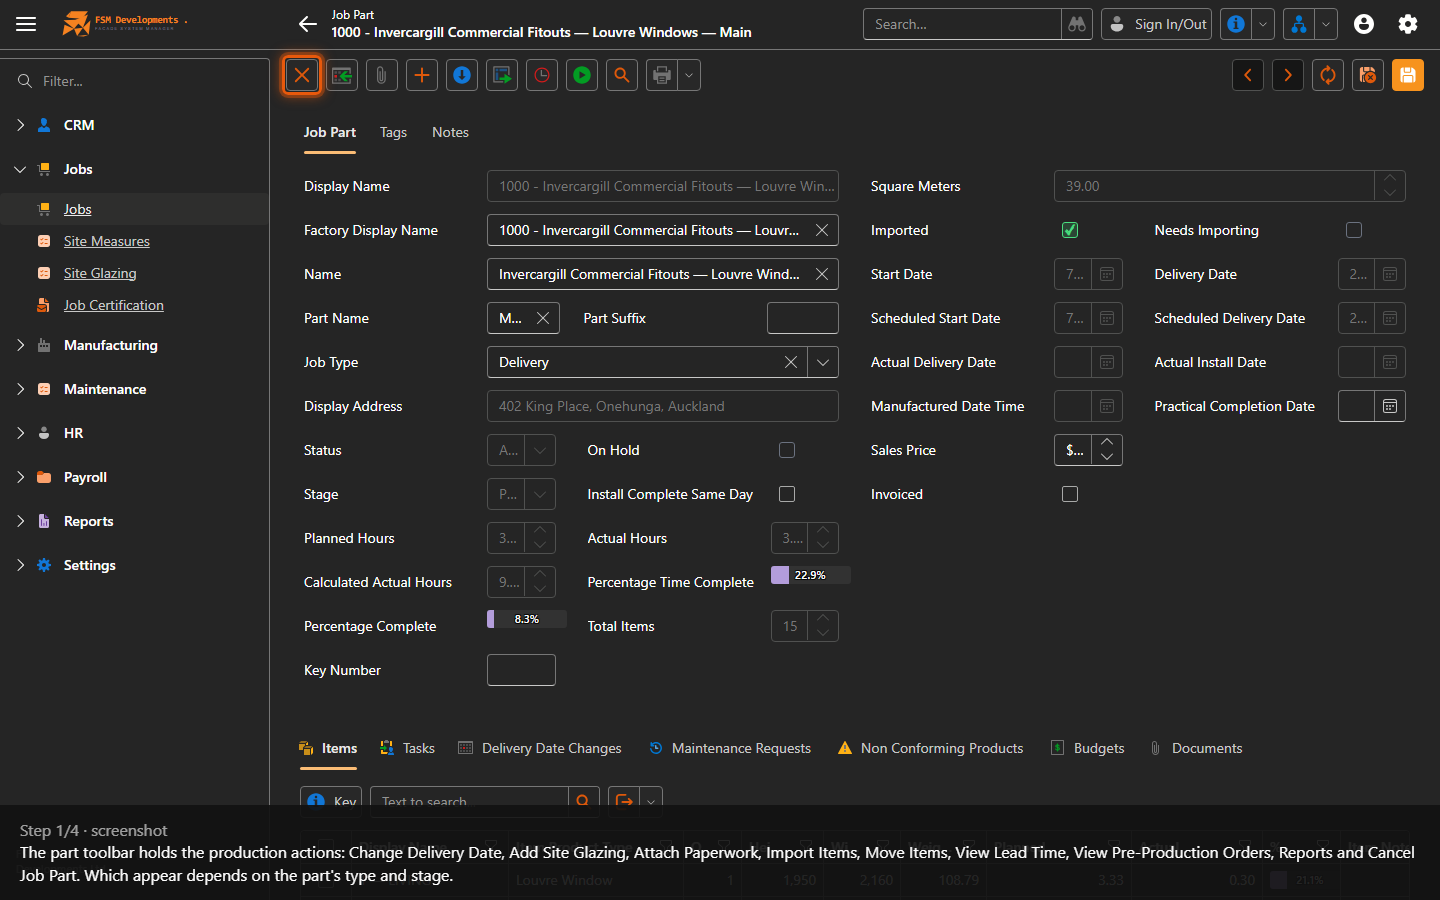
Lite+The part toolbar carries the day-to-day production actions. The toolbar reads:
[Cancel Job Part] [Change Delivery Date] [Mark Invoiced] [Job ▾] [Reports ▾]
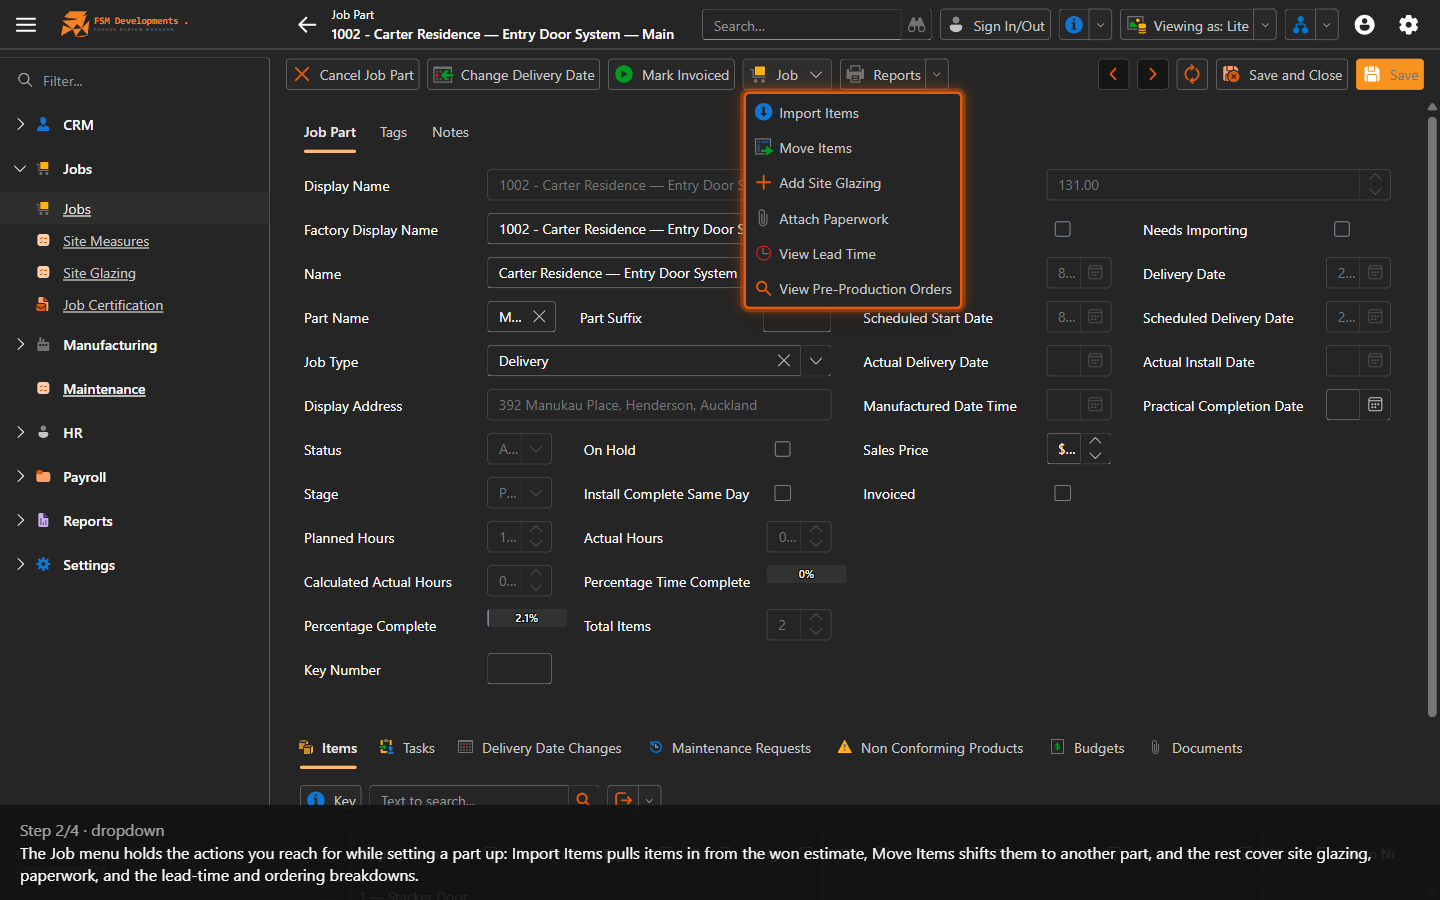
The Job menu gathers the actions you reach for while setting a part up:
- Import Items / Move Items — pull items in from the won estimate, or shift them to another part.
- Add Site Glazing — book an on-site glazing visit for the part.
- Attach Paperwork — attach drawings and worksheets via the Factory Paperwork Manager.
- View Lead Time / View Pre-Production Orders — see how the delivery date is worked out, and what needs ordering.
The rest sit on the toolbar in their own right:
- Cancel Job Part — cancel the part with a reason.
- Change Delivery Date — reschedule the part; logged on the Delivery Date Changes tab.
- Mark Invoiced — record the part’s invoice amount, number and date.
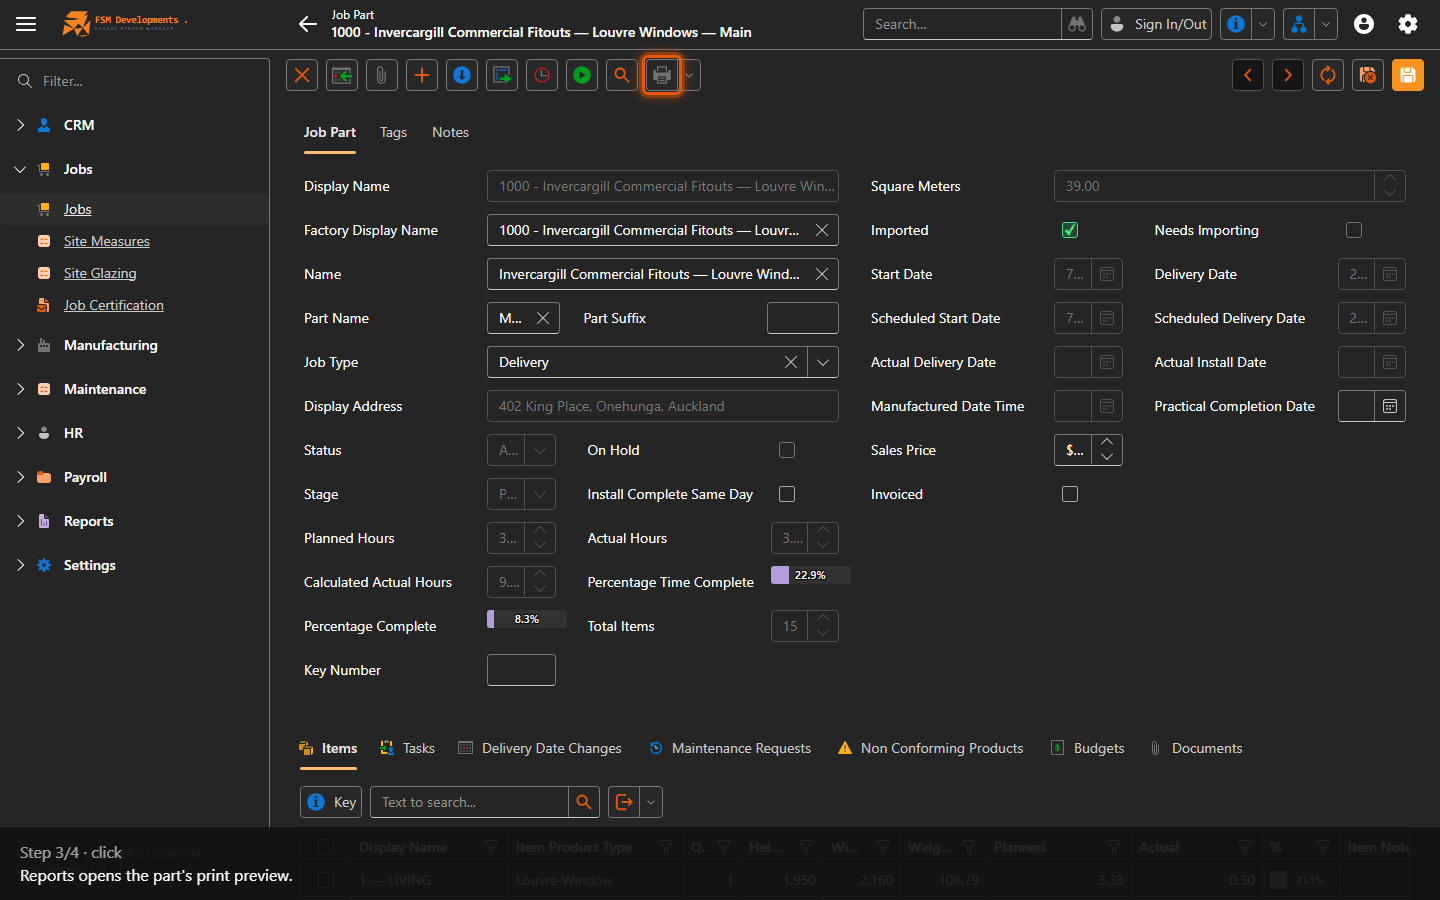
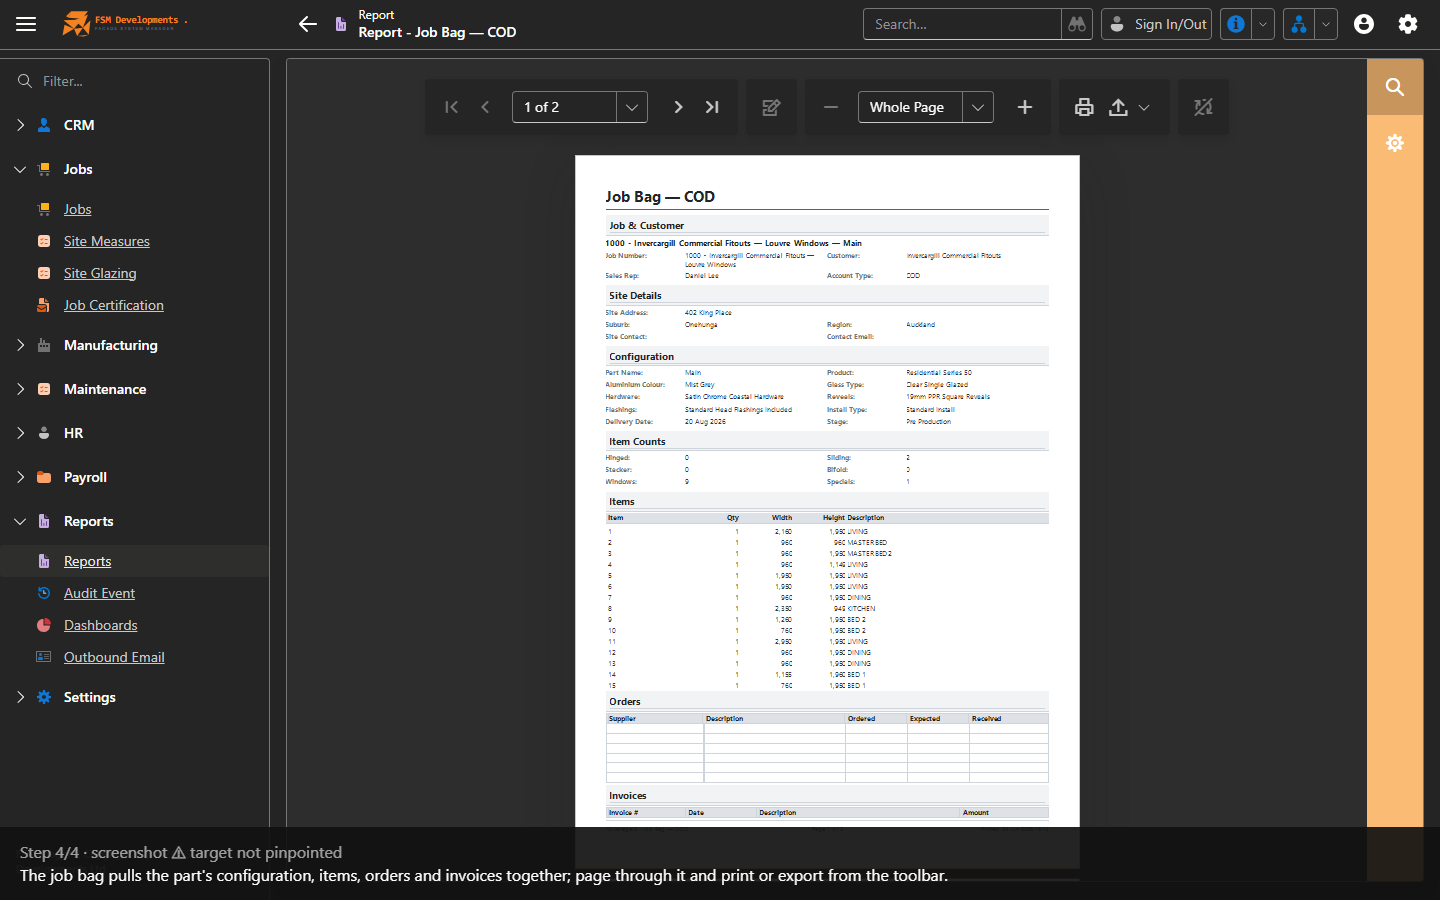
- Reports — open the part’s print preview (job bag, work order, cutting sheets, labels).
Nothing was removed when these were grouped. Every action that was on the toolbar before is still available — the ones used together now share a menu instead of wrapping onto a second row. Which actions appear still depends on the part’s type and stage, and on your permissions; a menu left with only one action to show drops the menu and shows that action’s button directly.
Step by step
The actions in detail
Change Delivery Date
Reschedule the part and keep an audit trail of why.
-
On the part toolbar, click Change Delivery Date (the clock icon).
-
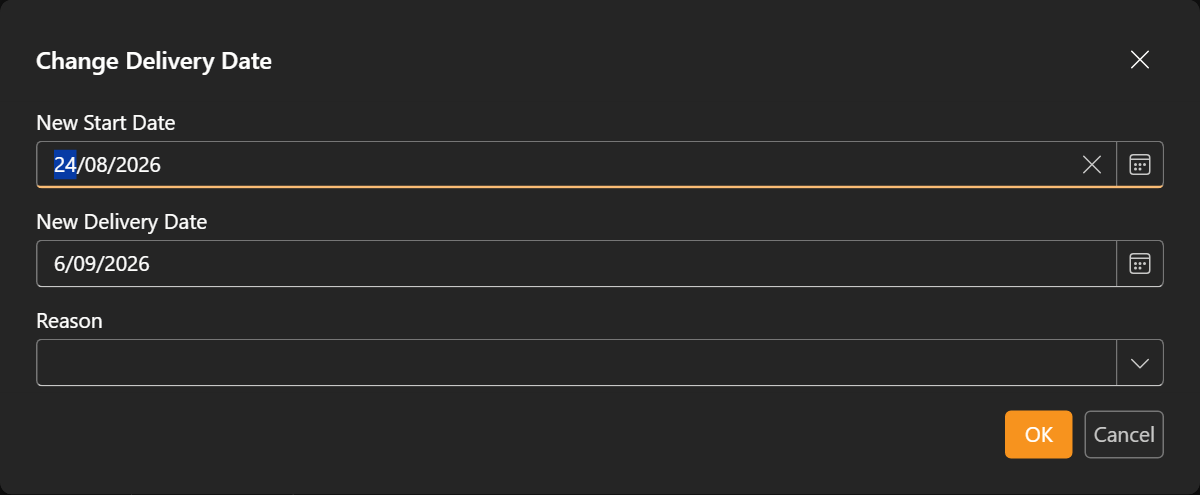
Set the New Delivery Date and pick a Reason — the change is logged on the part’s Delivery Date Changes tab so you can see whether slips were customer-caused or internal.
New Start Date can be changed only while the part hasn’t started. Once labour has been claimed on a manufacturing task, the start date records when work actually began, so it’s shown read-only and a delivery-date change no longer shifts it.
-
OK.
Cancel Job Part
Take a part out of production with a recorded reason.
- Click Cancel Job Part (the ✕ icon).
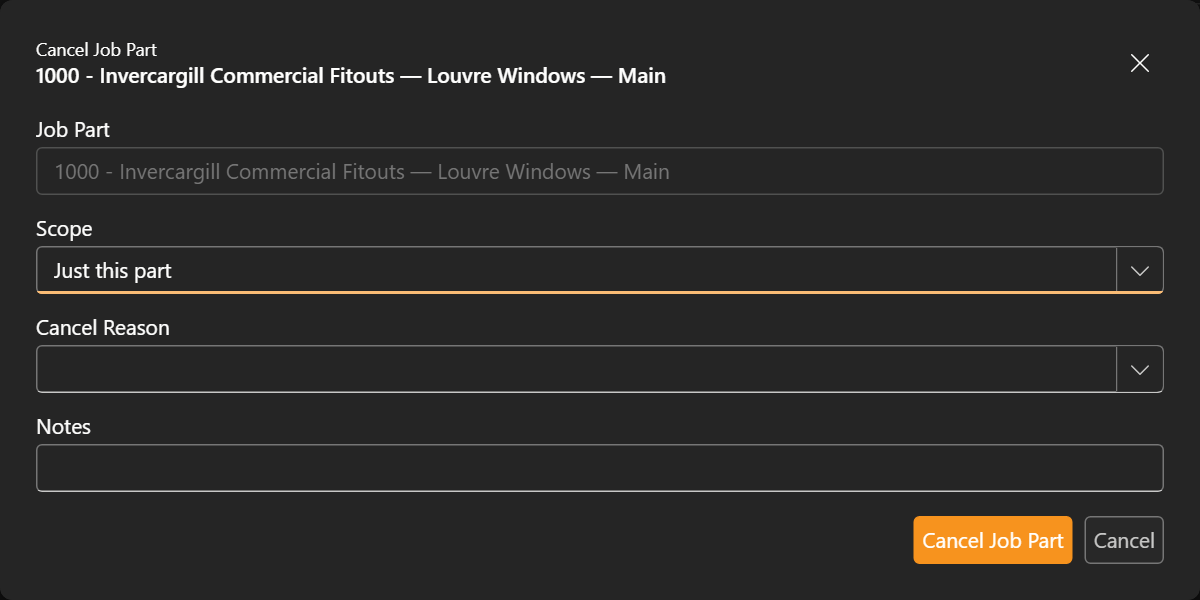
- Choose the Scope — Just this part, or widen it to the whole job — then pick a Cancel Reason and add any Notes.
- Cancel Job Part to confirm.
Add Site Glazing
Book an on-site glazing visit for the part.
- On the part toolbar, choose Job ▾ → Add Site Glazing (the + icon).
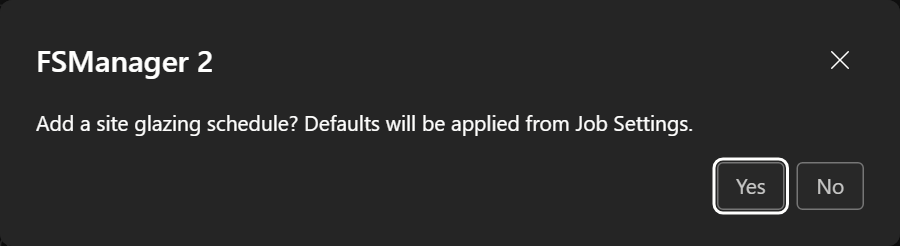
- Confirm — a site glazing schedule is created with the defaults from Job Settings, ready to plan on the Site Glazing board.
View Lead Time
See exactly how the delivery date was worked out.
- On the part toolbar, choose Job ▾ → View Lead Time (the magnifier/clock icon).
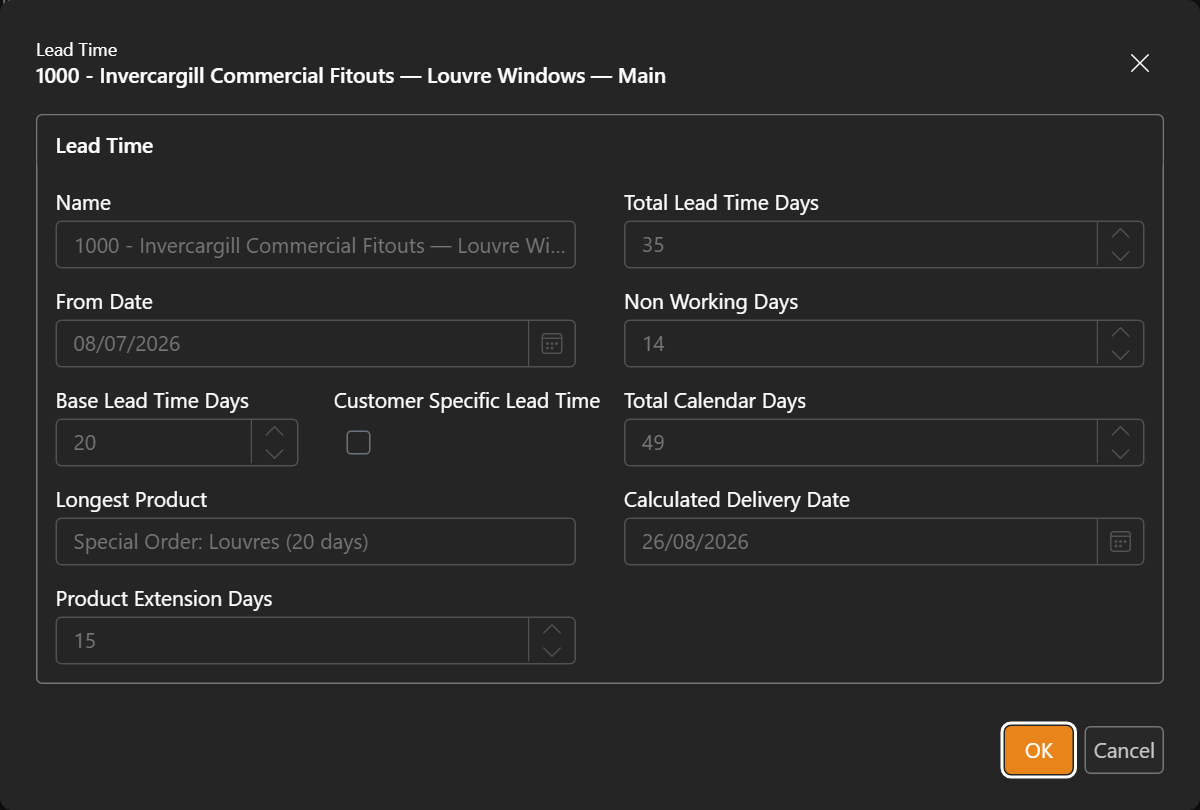
- The breakdown shows the Base Lead Time Days, the Longest Product (special-order items push the date out), Non Working Days, Product Extension Days, and the resulting Calculated Delivery Date — so a promised date is never a guess.
View Order Information
Check what needs ordering for the part and what’s arrived.
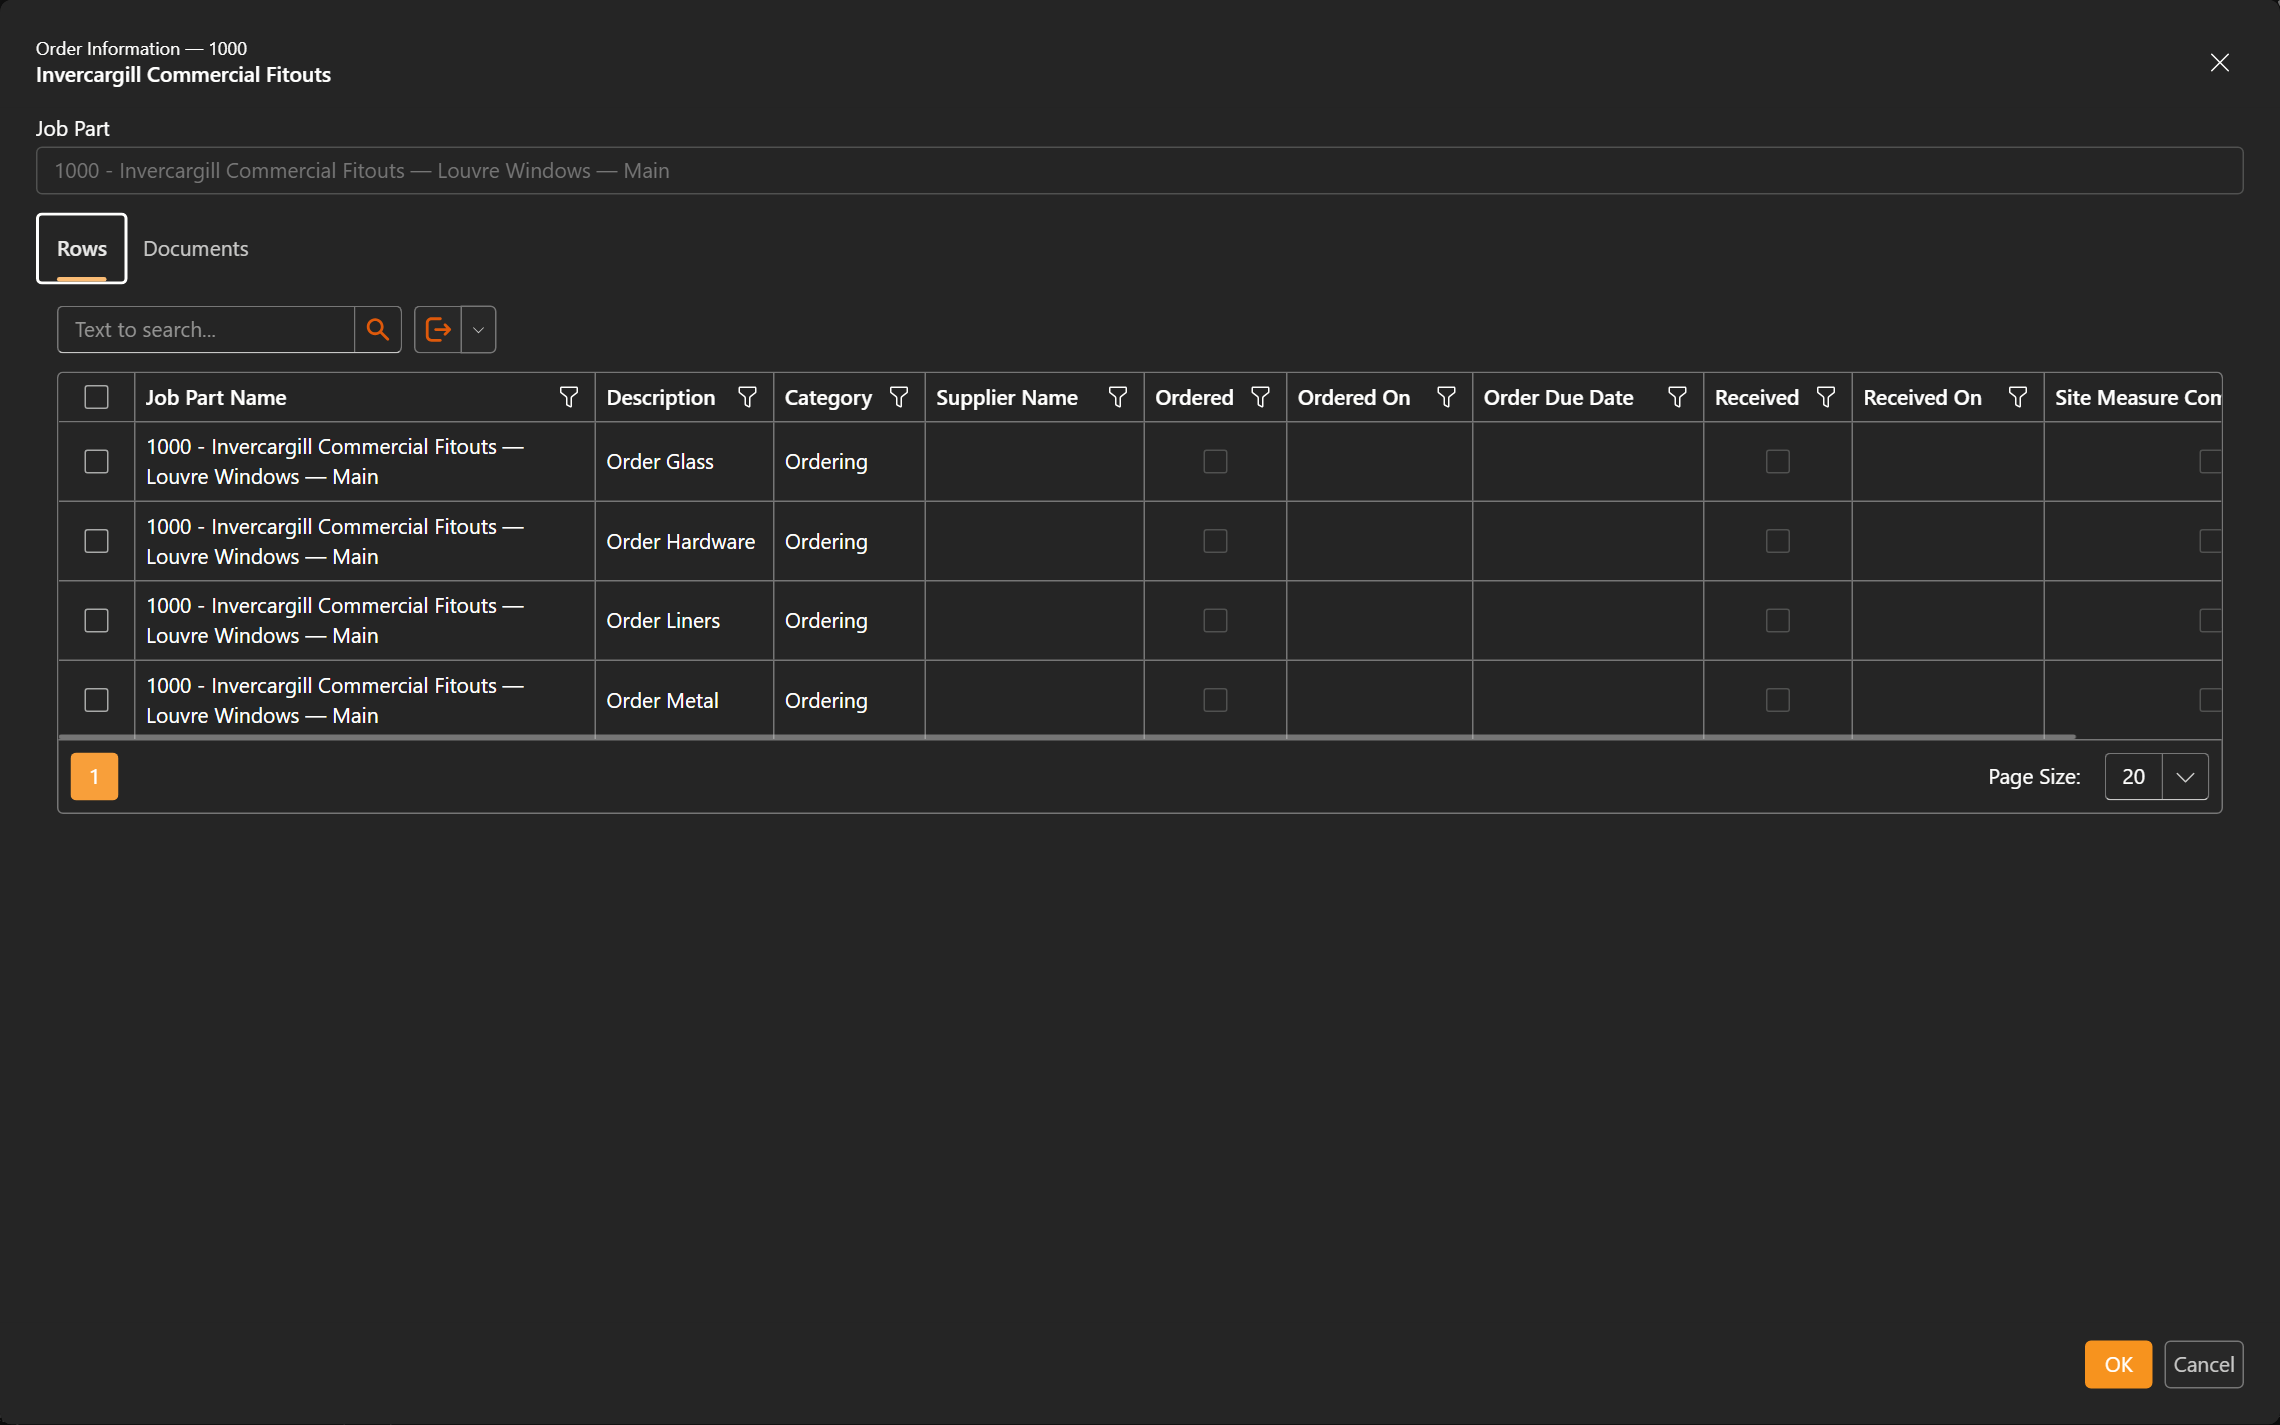
- On the part toolbar, choose Job ▾ → View Pre-Production Orders (the magnifier icon).
- The Rows tab lists each ordering task — Order Glass, Hardware, Liners, Metal — with its supplier, Order Due Date, and Ordered / Received ticks. The Documents tab holds the related purchase paperwork.
Job ▾ → Attach Paperwork (the paperclip) opens the same Factory Paperwork Manager used from the Job Dashboard — see Attach paperwork to a job. Mark Invoiced sits on the toolbar in its own right and records the part’s invoice amount, number and date.