Users & security
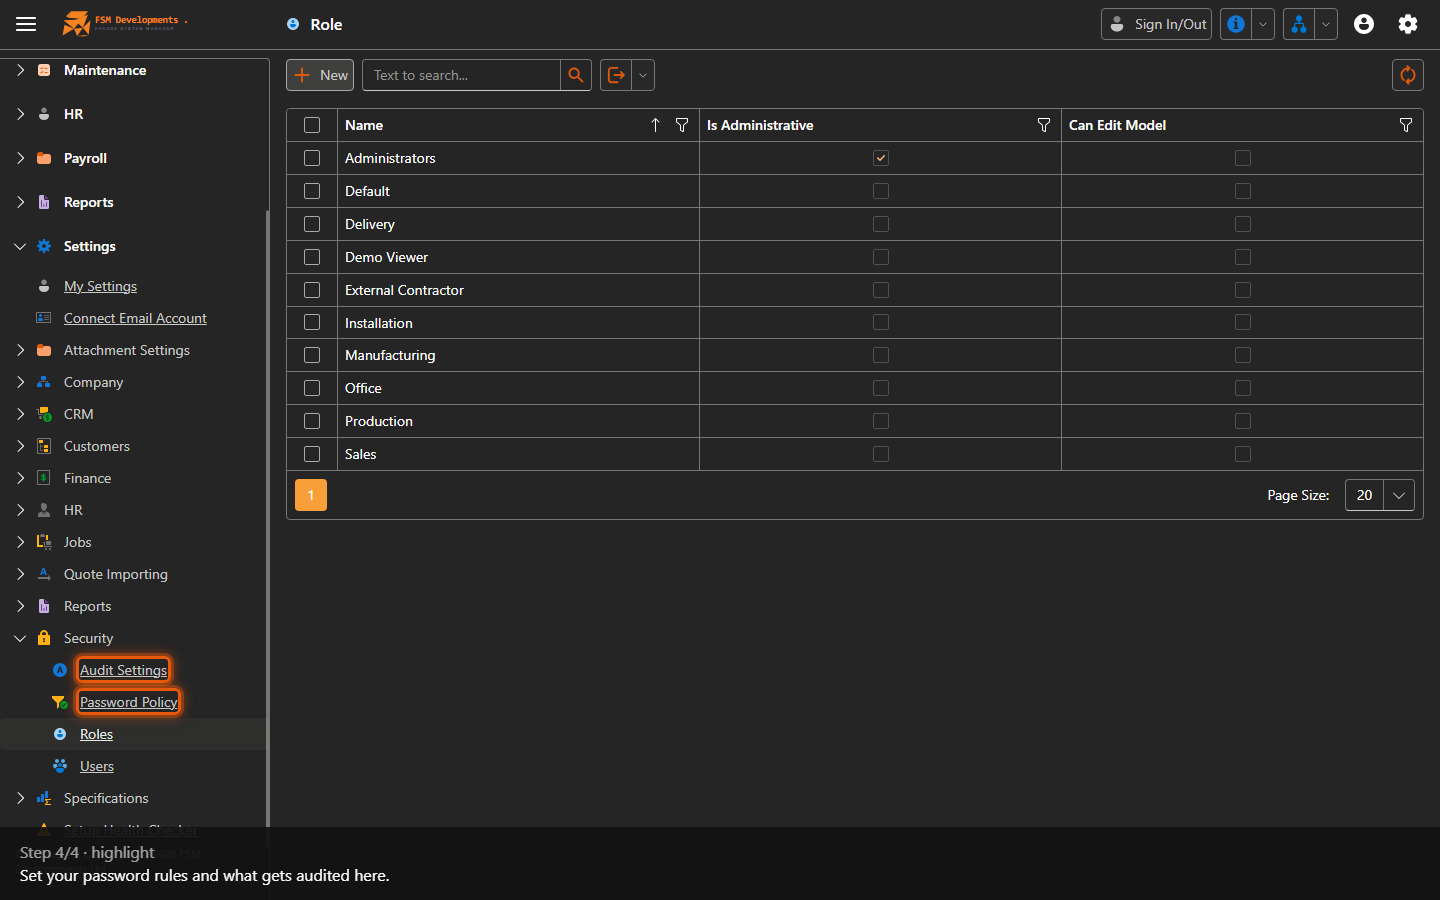
Lite+Who can sign in and what they can do — user accounts, the roles that grant permissions, plus password and audit policy.
When to use
Adding a user, changing what a role can access, or tightening security policy.
Step by step
Adding a user
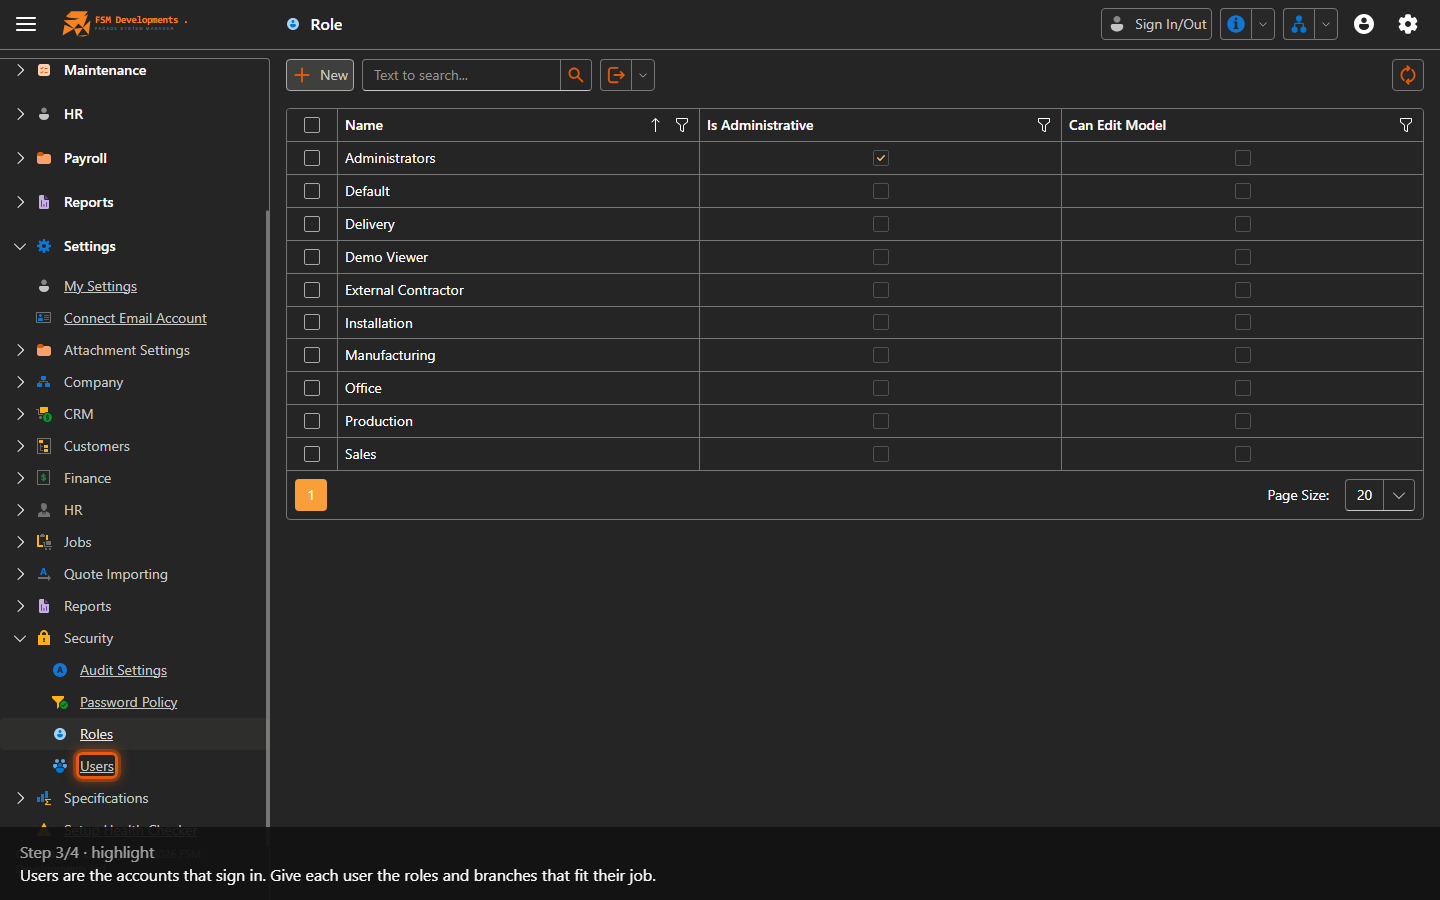
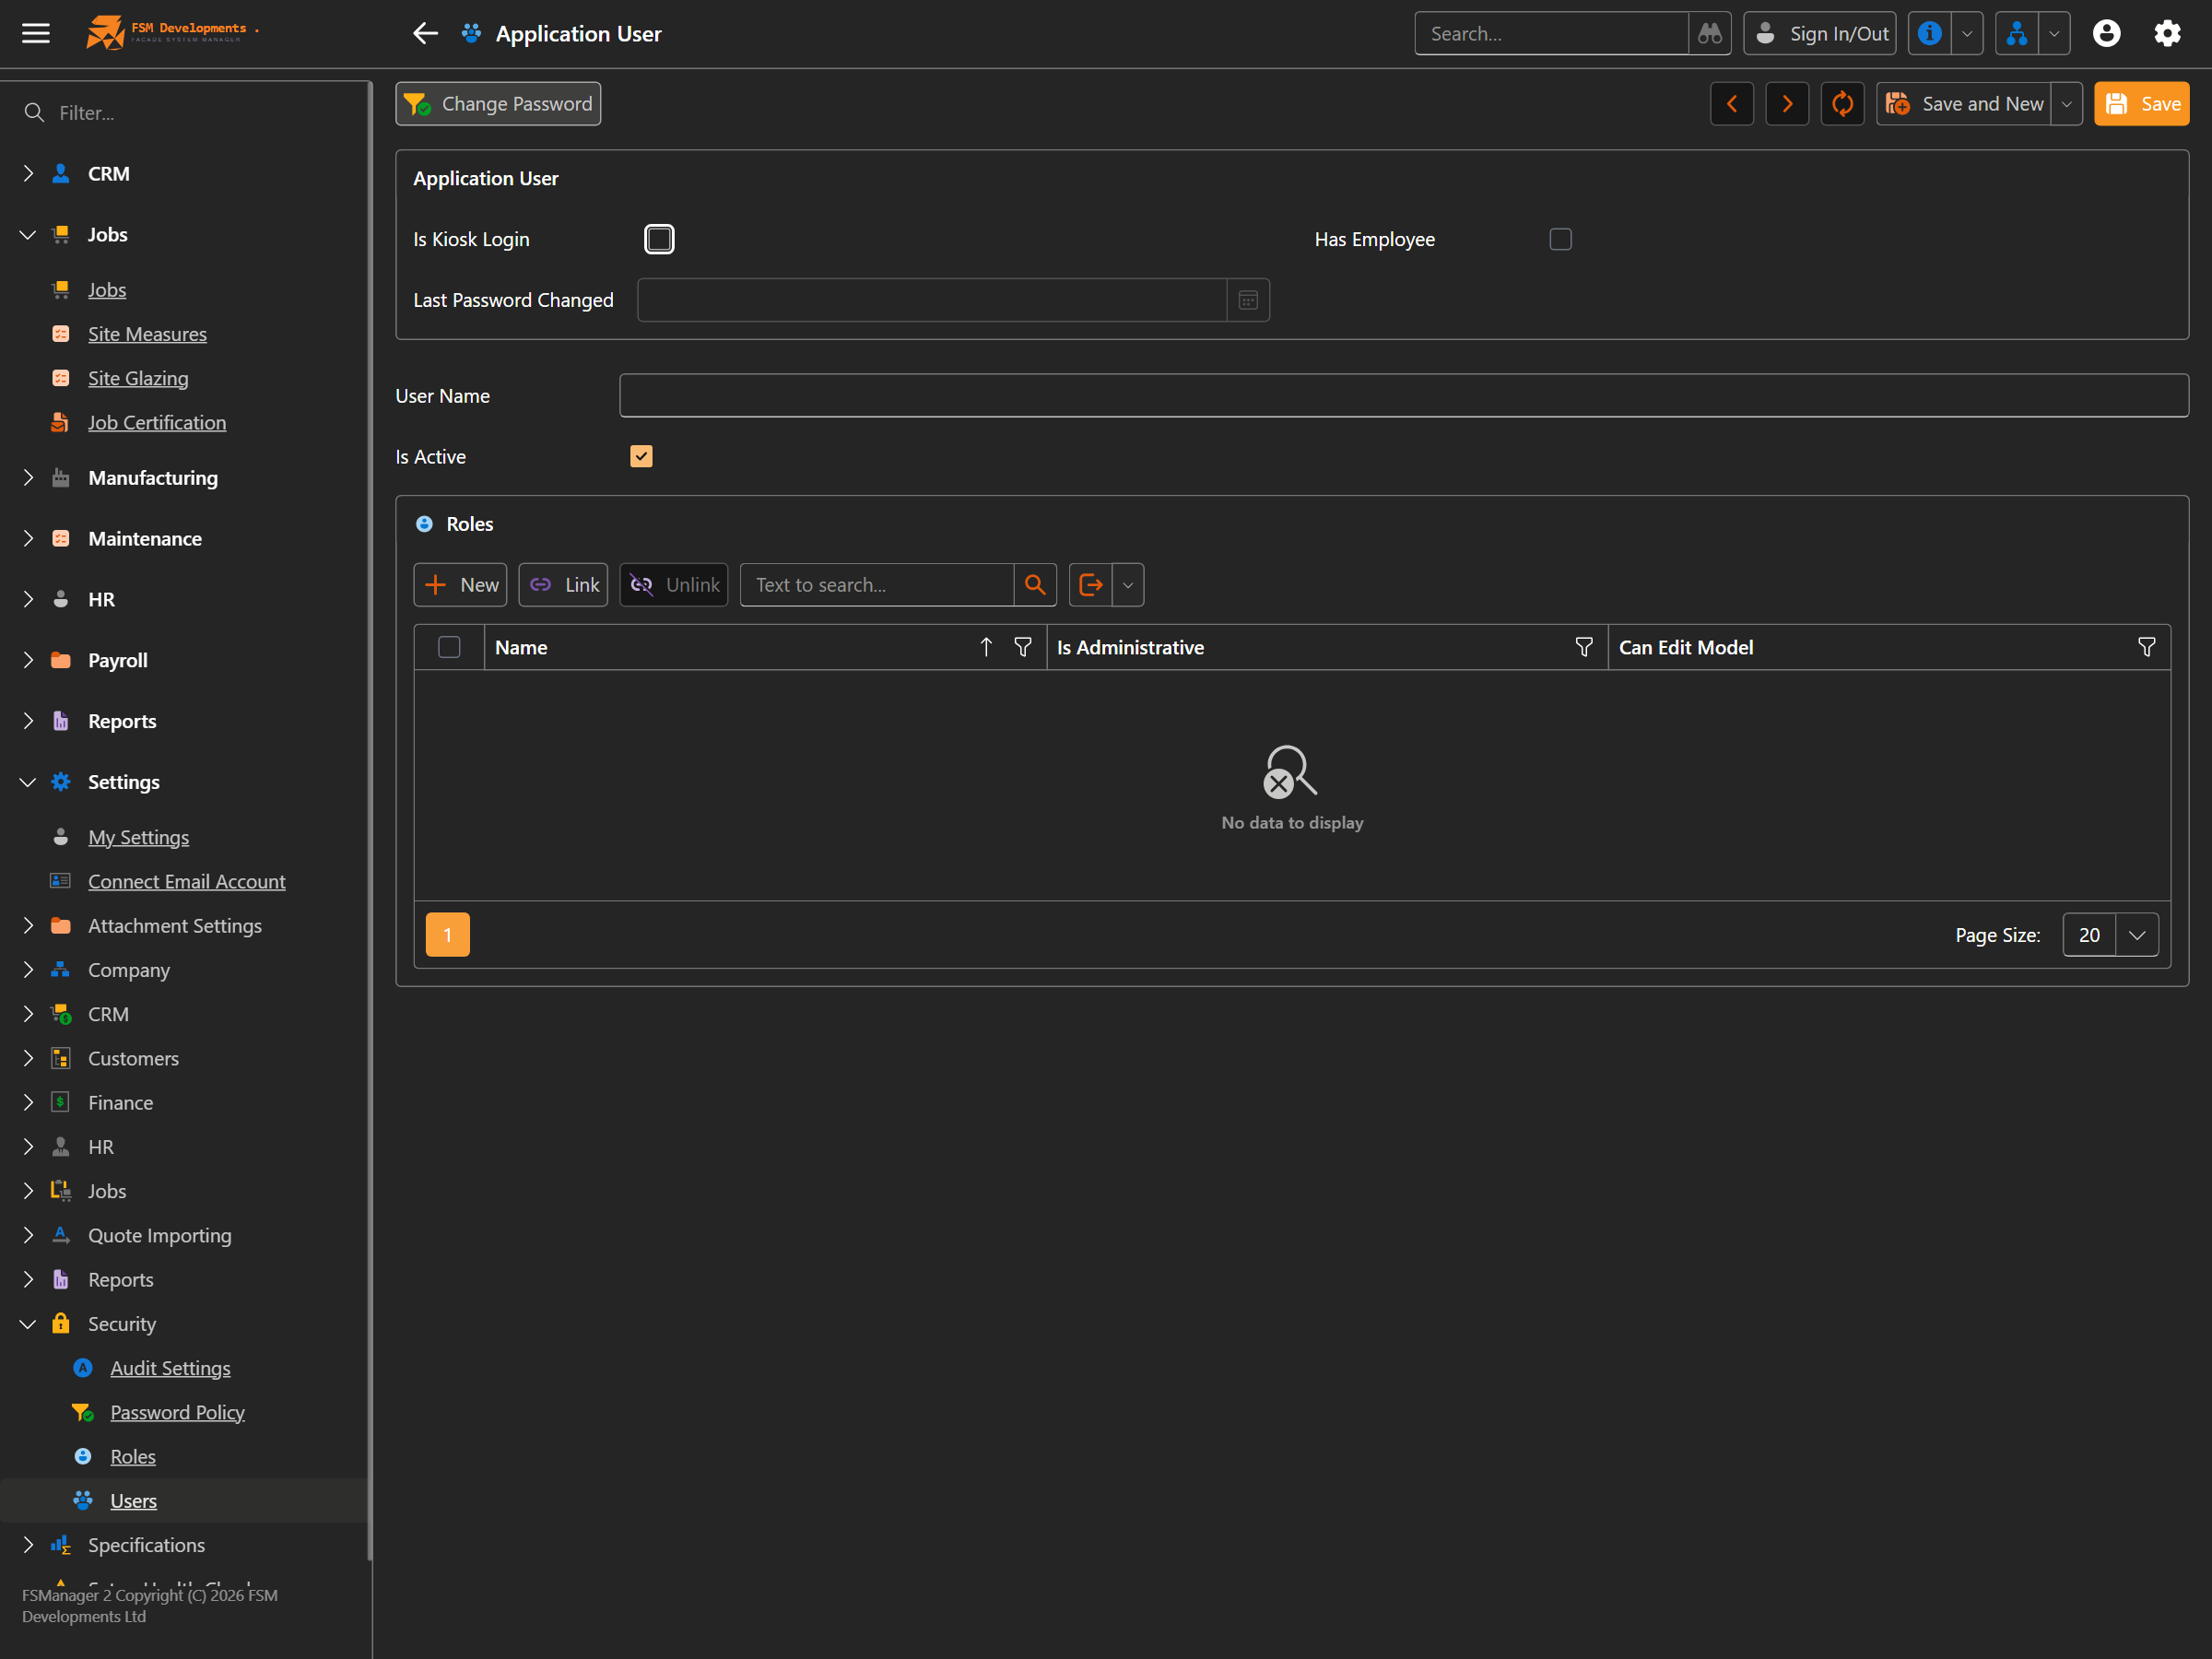
Settings → Security → Users → New.
- Enter the User Name (the login — usually their email).
- Leave Is Active ticked so they can sign in.
- Tick Is Kiosk Login if this account is only for the shop-floor kiosk, and Has Employee to link it to an employee record.
- In the Roles grid, Link the roles that give them their access — this is what actually decides what they can see and do.
- Save, then use Change Password on the toolbar to set their first password.
What a role controls
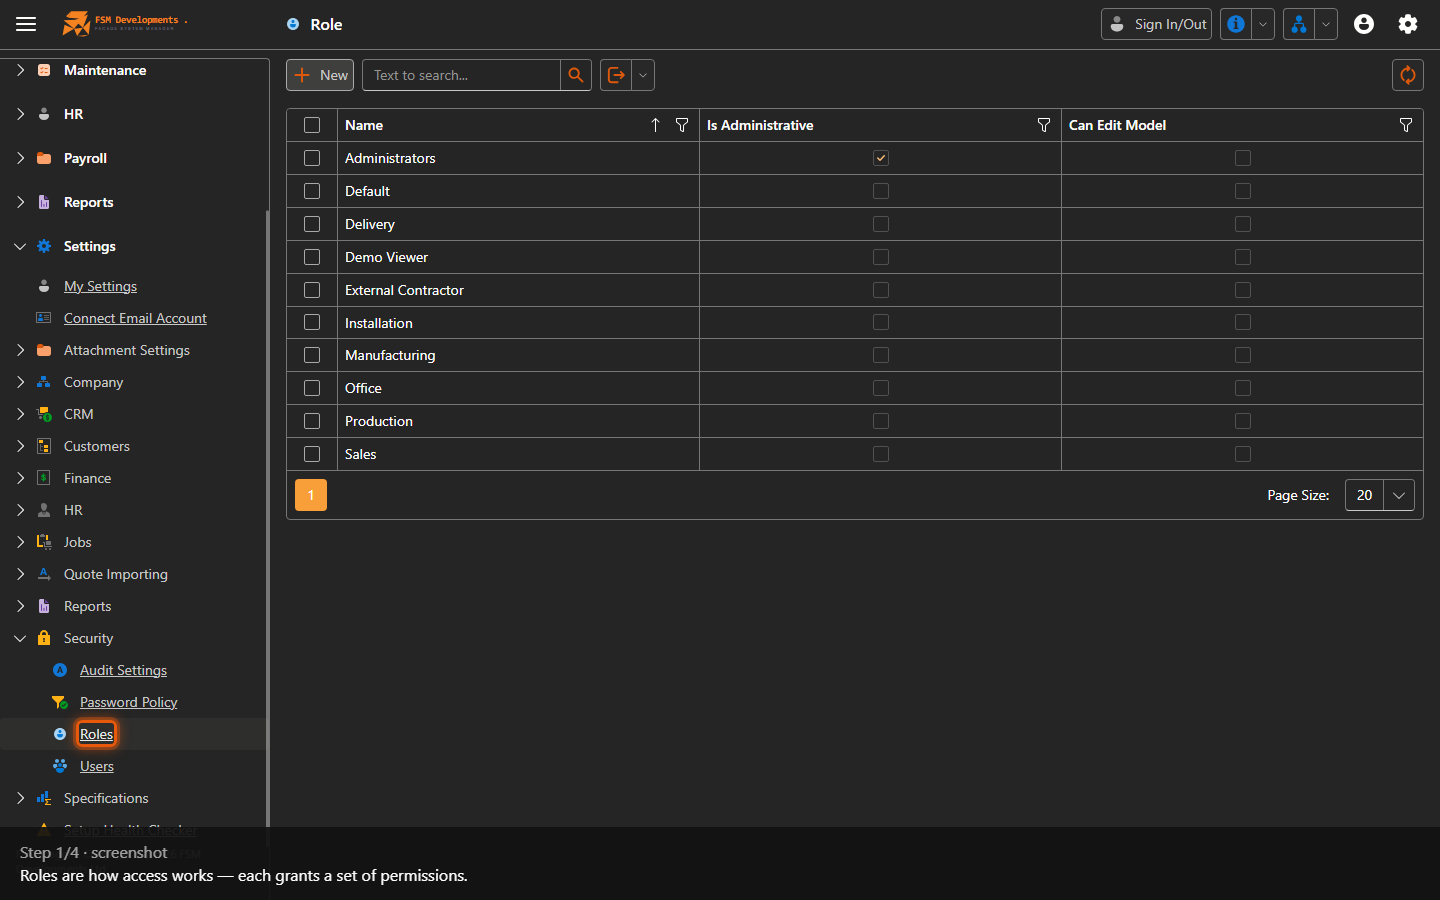
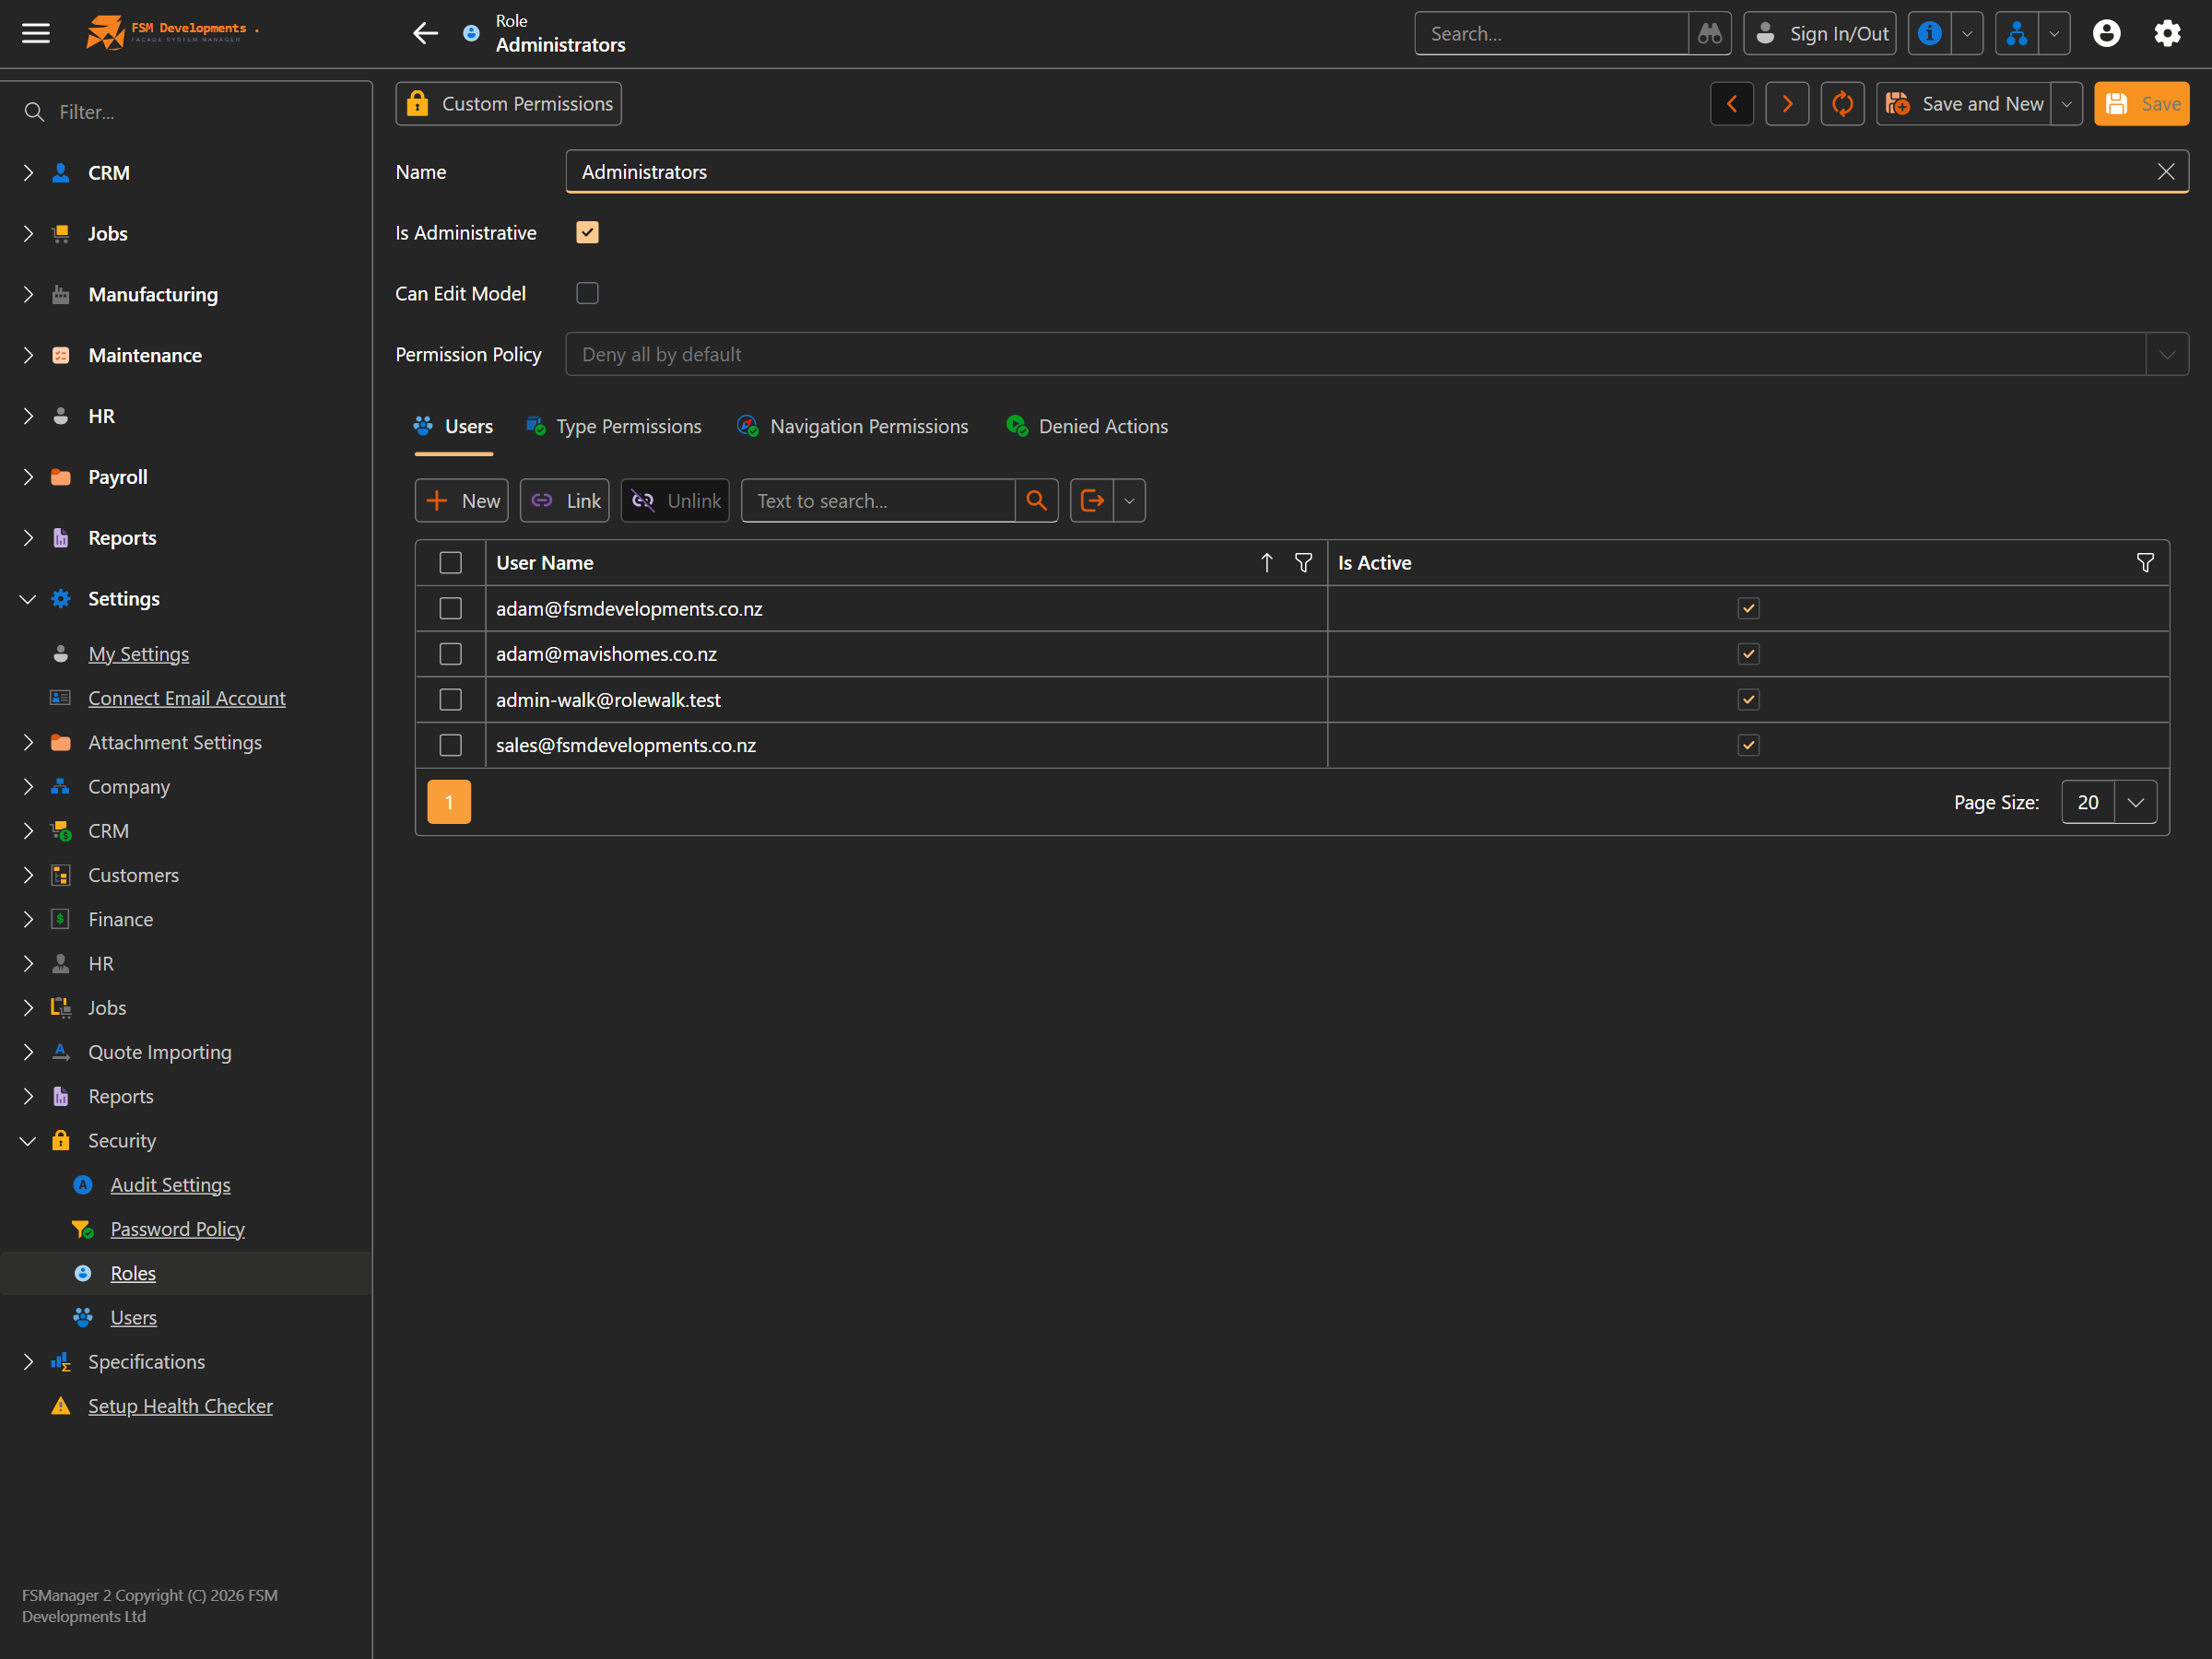
Settings → Security → Roles. A role is a named bundle of permissions you assign to users. Open one to see and shape what it grants.
| Setting | What it does / affects |
|---|---|
| Name | The role’s name (e.g. Administrators, Sales). |
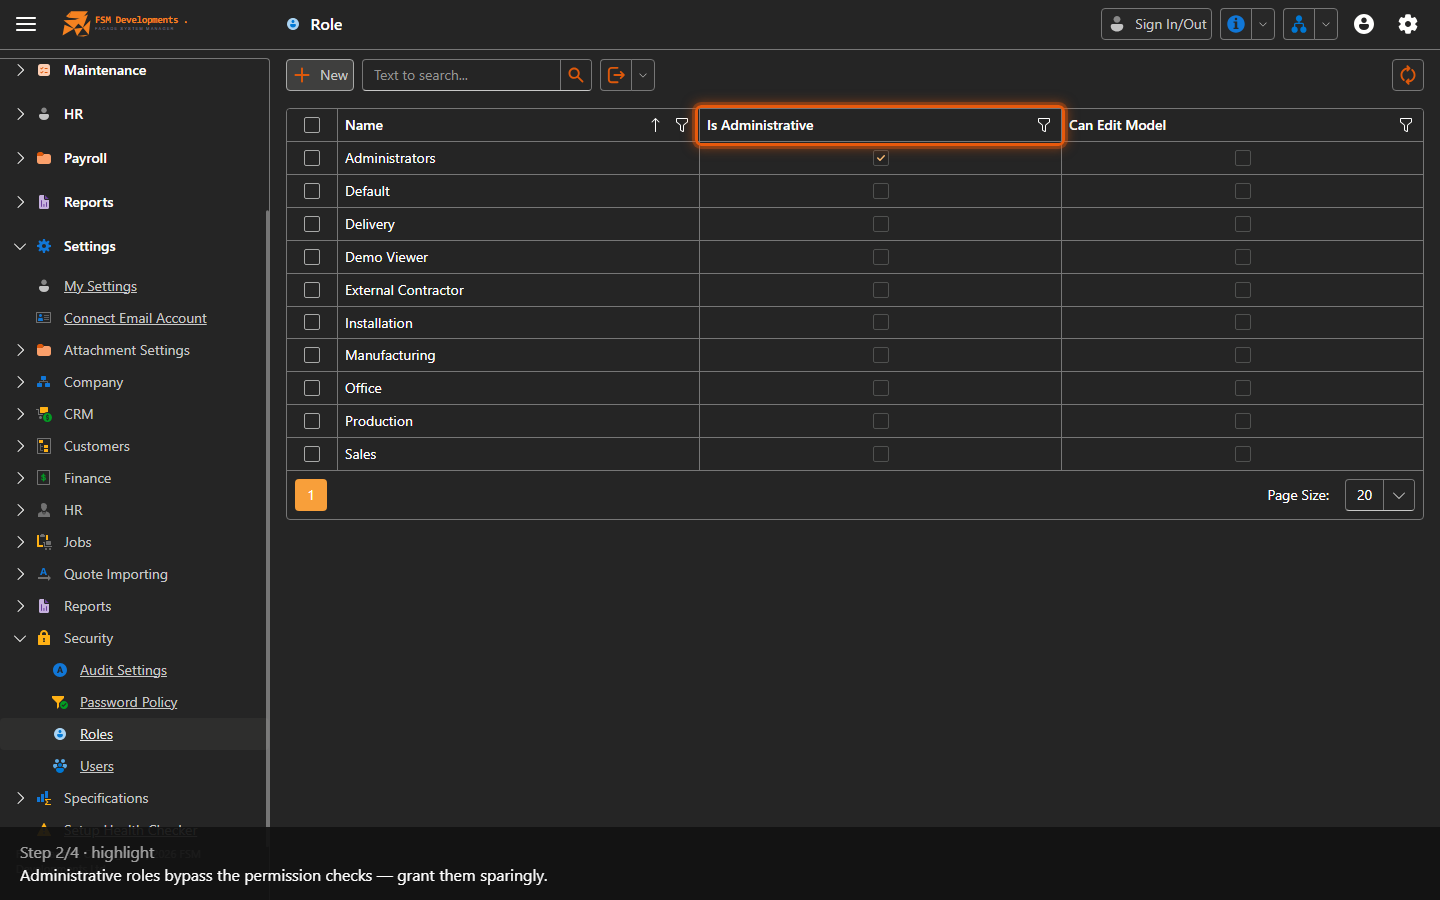
| Is Administrative | The role bypasses all permission checks — full access. Grant it sparingly. |
| Can Edit Model | Lets the role change the application model (advanced — normally off). |
| Permission Policy | The starting point — usually Deny all by default, so the role only grants what you explicitly allow. |
| Users tab | Who’s in the role. |
| Type Permissions tab | What data the role can read/write/create/delete, by record type. |
| Navigation Permissions tab | Which menu items the role can open. |
| Denied Actions tab | Specific actions taken away from the role. |
For everyday staff, the simplest path is to give them a position (which carries the day-to-day capability flags) and one standard role here — you rarely need to hand-craft permissions per person.
Last updated on