Navigating FSManager
A tour of the FSManager interface — where to find things, how the views work, and the patterns you’ll see everywhere.
The main layout
FSManager has four regions on every screen:
- Header (top) — branding, tenant switcher (if applicable), Help dropdown, your user menu.
- Navigation sidebar (left) — the hierarchical menu of all the things you can open (Jobs, CRM, Maintenance, Admin, etc.).
- Content area (centre) — whatever you’re currently looking at: a list, a record, a dashboard.
- Action toolbar (above the content) — buttons that act on what you’re currently viewing.
The navigation sidebar
The sidebar groups everything into top-level sections. The structure varies with your tenant’s setup and your permissions, but commonly:
- Jobs — Job list, Job Manager dashboard
- CRM — Customers, Contacts, Opportunities, Sales Pipeline, Sales Targets
- Maintenance — Maintenance requests
- Reports — Parametrized reports and dashboards
- Administration — Users, Roles, Settings, Setup Check (admins only)
Click any item to open it in the content area. Sub-sections expand on hover/click.
Lists, detail views, and dashboards
Three view shapes recur across the app:
List views
Tables of records — Customers, Opportunities, Jobs, Quotes, etc. Each list view supports:
- Sorting — click a column header.
- Filtering — use the filter row above the grid, or the panel on the right.
- Searching — most lists have a quick search box.
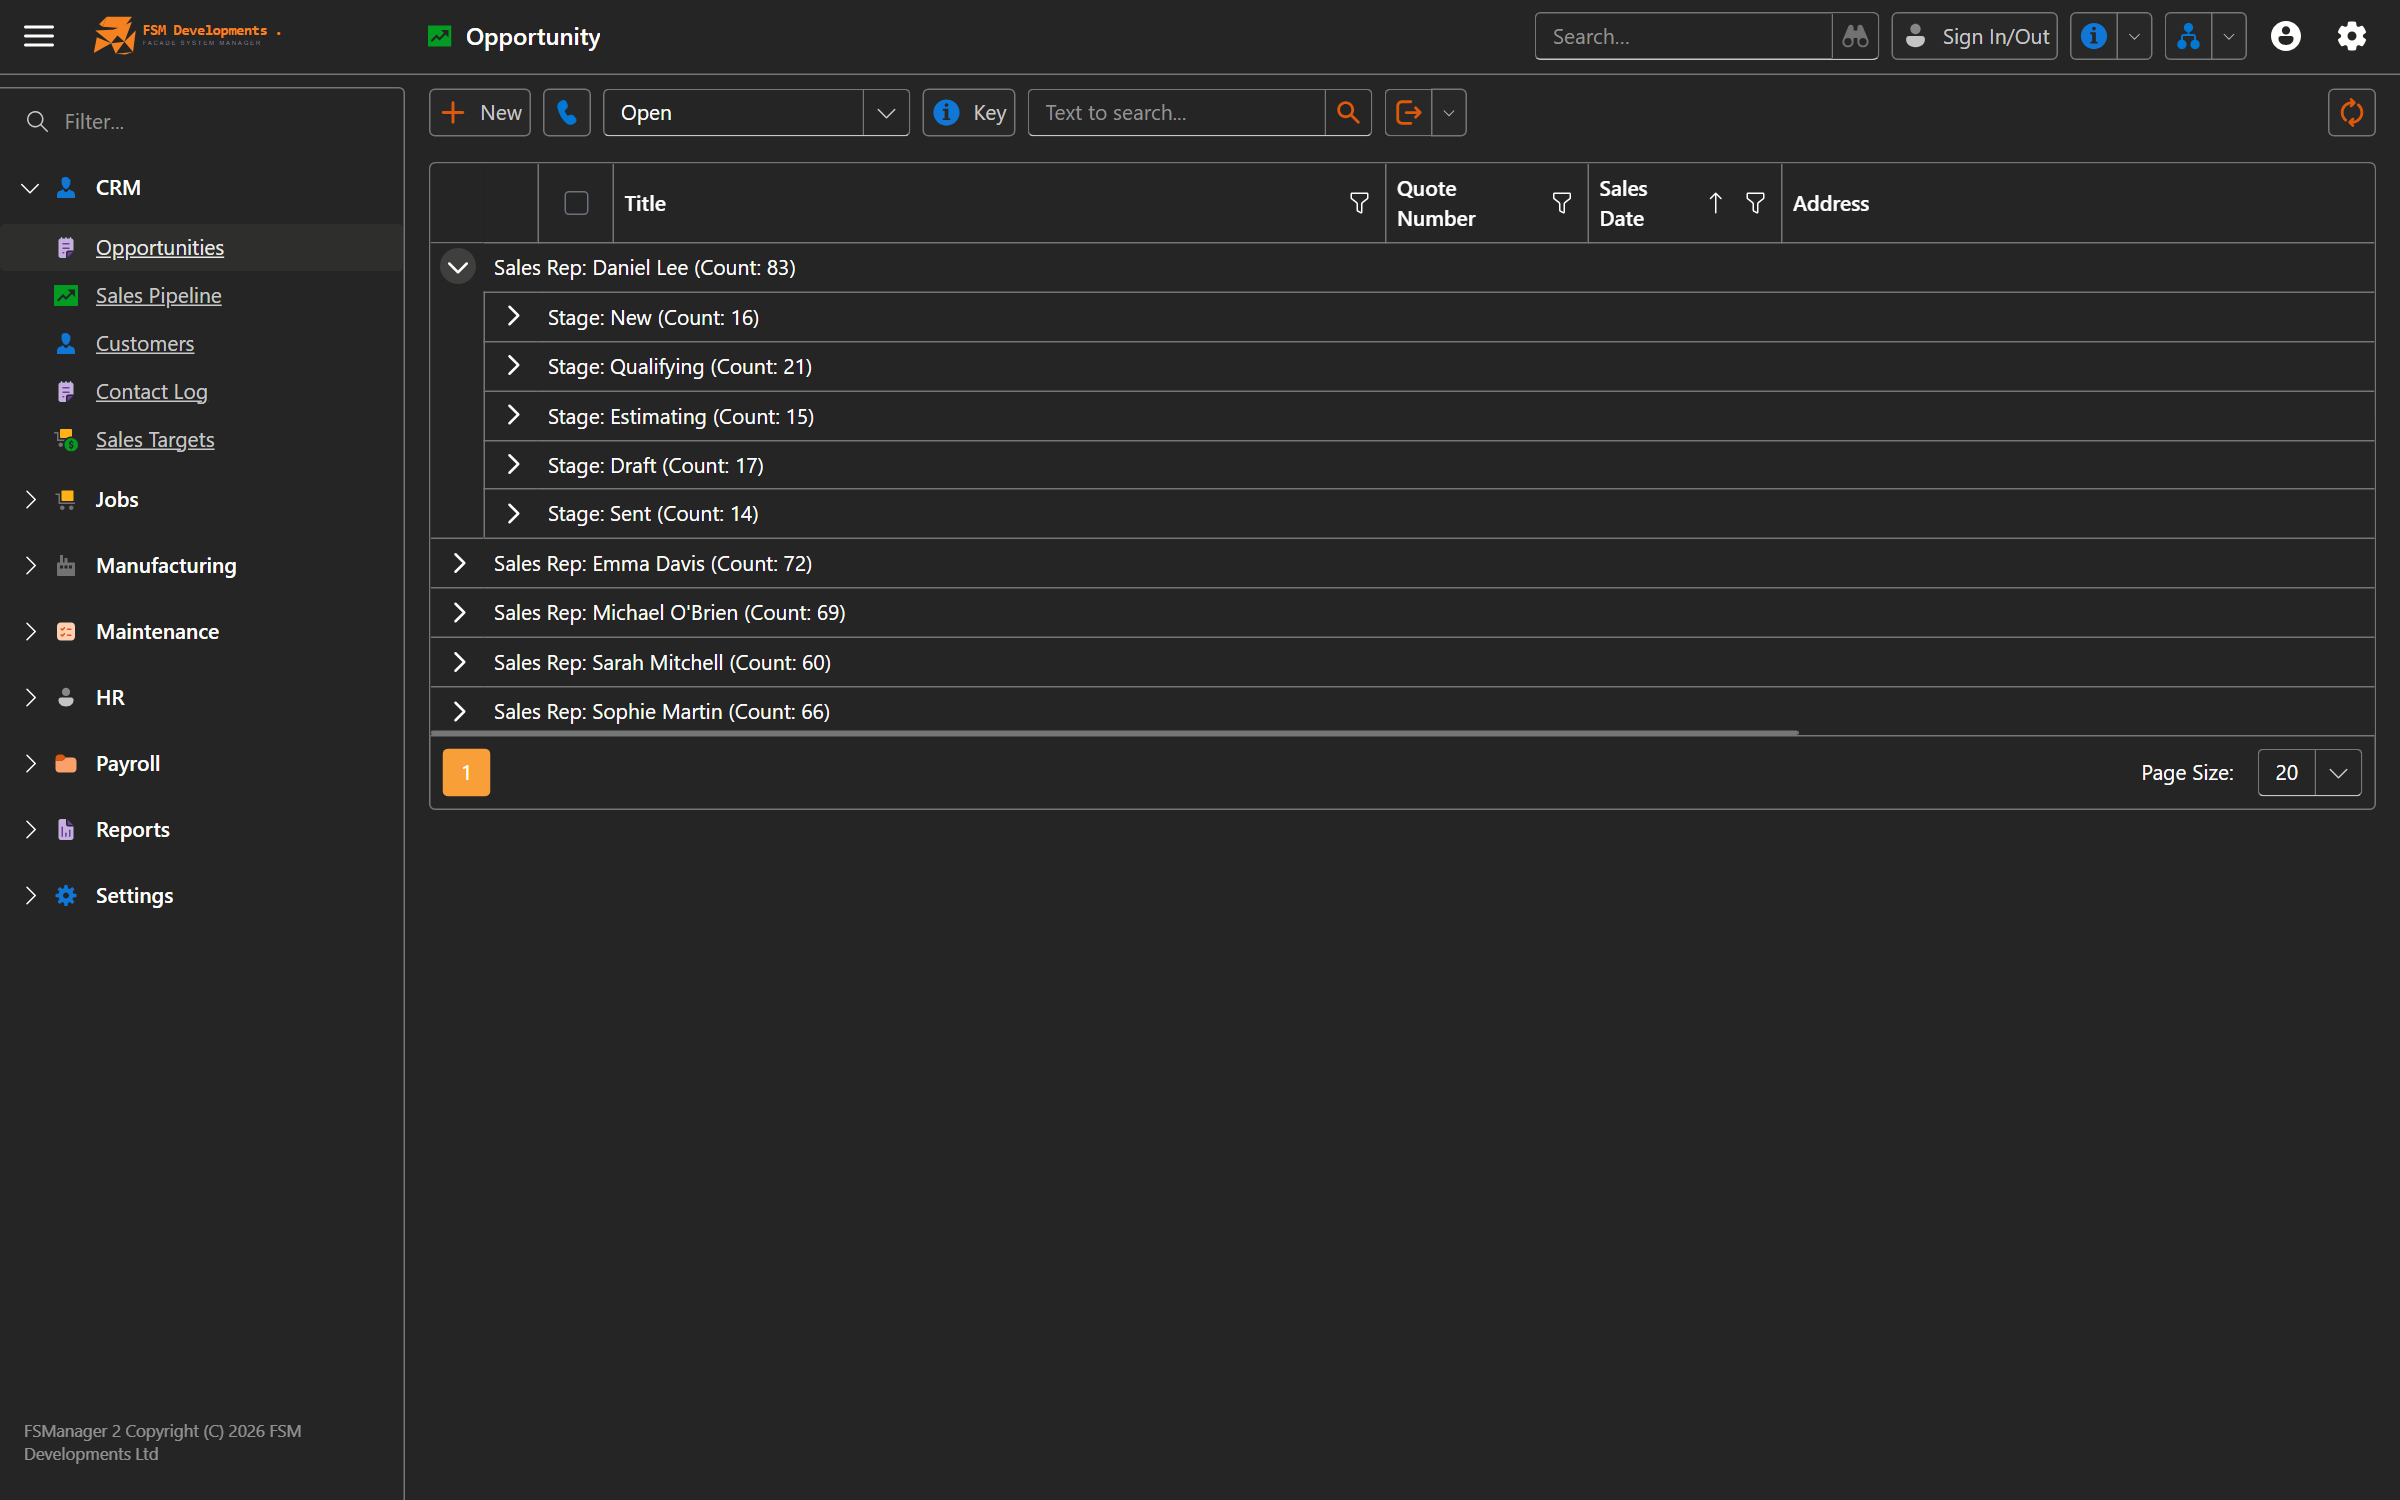
- Grouping — drag a column header into the group panel.
- View variants — many lists have saved variants (e.g. Opportunities → My Pipeline, Open, Quoting) accessible from the toolbar.
- Export — to PDF or Excel from the report/export dropdown.
Double-click a row to open its detail view.
Detail views
Forms for editing a single record. Detail views are often organized into tabs for related information:
- The main form sits at the top.
- Tabs below show related collections (e.g. a Customer’s Contacts, Opportunities, Jobs tabs).
- Edit a field, navigate away, and the system prompts you to save.
The toolbar on a detail view contains the actions you can take — Save, Delete, plus context-specific buttons like Win Quote, Cancel Job Part, Add Estimation.
Dashboards
Interactive non-list views — the Sales Pipeline kanban, the Job Manager, the Estimator Performance chart. Dashboards are usually filterable by rep / branch / category at the top.
The header
Top right, you’ll see (depending on what’s enabled for you):
- Multi-tenant switcher — only visible if you have access to more than one tenant.
- Help dropdown — opens to What’s New, Report a Bug, Request a Feature, and (when wired) Open Docs, Context Help, Embedded Help.
- User menu — your name, plus Sign Out.
Multi-tenant switcher
If your account is granted to multiple tenants (e.g. you work for both Acme Joinery and Acme Glass), the header shows a dropdown labelled with the current tenant. Click to switch — the page reloads in the chosen tenant without making you log in again.
Help dropdown
The Help menu is your jumping-off point for support:
- What’s New — popup showing recent release notes (also auto-appears after upgrades you haven’t seen yet).
- Report a Bug — opens a bug-report form.
- Request a Feature — opens a feature-request form.
- Open Docs / Context Help / Embedded Help — opens this docs site (when the integration is enabled in your tenant — see release notes for status).
User menu
Click your name to Sign Out, change your password, or update your profile. The exact items depend on your role.
Your default startup view
When you log in, FSManager opens to your default startup view — typically the Jobs dashboard. You can change it under your user settings to one of:
- Jobs (default)
- Opportunities
- Sales Pipeline
- Site Measures
- Maintenance
Pick what you spend most of your time on. The selection is per-user, so each member of your team can land where it suits them.
Action toolbars
Every list or detail view has a toolbar at the top of the content area. Toolbars contain the verbs available for the current context:
- New — create a new record.
- Save, Save and Close, Save and New — on detail views.
- Delete — remove the selected record(s).
- Refresh — reload.
- Reports — print or export.
- Context-specific actions — e.g. Mark Sent, Win Quote, Add Revision, Change Delivery Date.
Actions that aren’t available in the current state (e.g. Win Quote before a quote is in Sent stage) are greyed out with a tooltip explaining why.
Search
Most list views have a quick-search box that filters as you type. For more involved searches use the filter panel — you can build multi-condition criteria (Status = Open AND SalesRep = Adam AND Category = Residential).
Keyboard shortcuts
The most useful are:
- Tab / Shift+Tab — move between fields.
- Enter — submit forms and search.
- Esc — close popups.
- F1 — once the help integration is enabled, F1 anywhere opens context-sensitive help.
Tips & gotchas
- Variants are your friend. Use the variant dropdown on busy list views — Opportunities → My Pipeline shows only yours; Open Opportunities skips Won/Lost. Avoid building the same filter every morning.
- Group panels save scrolling. Drag Stage or Sales Rep into the group panel of an opportunities list to collapse it by group.
- The toolbar reflects state. If an action you expect is missing, look at the record’s current state — Win Quote only appears when the active revision is in Sent stage; Cancel Job Part doesn’t show on already-cancelled parts.
- Save before navigating. Detail views prompt to save unsaved changes, but it’s faster to hit Save first than to argue with the prompt.
- Help is always one click away. When something doesn’t make sense, the Help dropdown opens these docs — usually with context for the page you’re on.
Related
- Your First Login — getting in
- System Requirements — what your browser needs
- Setup Wizard — the one-time setup admins walk through